I've got another tutorial for you today. YAY! It's a paper bag puppet tutorial! :D So, if you have some extra time on your lovely Sunday make a paper bag puppet bird! ;) WOW, that's a mouthful! It's really fun and easy, so give it a try! Now, without further ado the paper bag puppet bird tutorial:
Step 2: Cut two identical pieces for wings!
Step 3: Put some glue on the wings and stick them to the brown bag.
Step 4: Cut out a tail and cut little slits on the bottom. I like to ruffle the tail a little bit so it has some fluffyness! :) After that's done glue it to the bottom of the brown bag.
Step 5: Cut out a triangle beak and glue it to the brown paper bag.
Step 6: Cut out a pair of small eyes. You don't have to worry if they aren't perfect circles! It gives your bird character! ;)
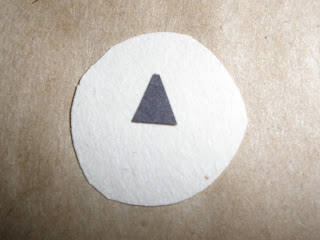
Step 7: Cut out a small triangle for the pupil of your eyes. You can make a lot of different expressions with pupils, so you don't always have to have them right in the center!
Step 8: (Optional) I cut out a cute little crest for my paper puppet bird. You don't have to make one if you don't want to. I just thought it looked cute! :D
Step 9: Next cut out a pair of legs for your puppet. You can cut little triangles for the claws.
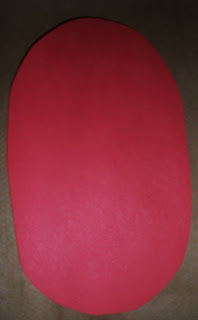
Step 10: (Optional) I cut an oval for my bird's belly. You don't have to do this, but I thought it added a splash of color! :)
Step 11: There is no step 11, you are finished! Now, stick that paper bag bird on your hand and fly him around the house! Congratulations on finishing him! (or her! ;) )
Thanks for reading everyone, and I hope you enjoyed this tutorial! If you make a paper bag puppet bird, please post a picture and show me! See you guys and gals later!
May your day be crafty,
Taylor Spades ♠
Taylor Spades ♠


The results look so cute!
ReplyDelete@Andrea Thank you so much! You should try to make one too! They're so much fun to make! :D
ReplyDelete